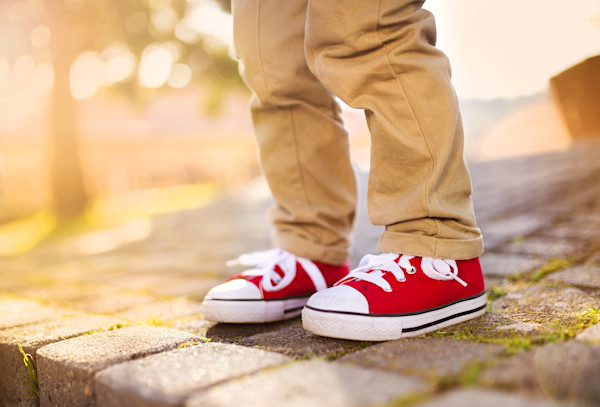
Constant running, jumping, and playing can damage your child’s favourite canvas shoes. The soles of the shoes are most prone to damage. We have an easy method to help you fix this problem and keep your child’s shoes in mint condition for a long time. Before you begin mending the shoe, keep an adhesive handy.
Let’s begin.
Step 1: Clean the Shoe
Use an old cloth to clean all dirt and dust from your kid’s shoe. Now, wipe the area clean with a cloth dampened in plain water. Let the area dry completely before moving to the next step.
Step 2: Remove the Sole
To make the process easy, we suggest you remove the sole completely, so you can glue it again.
Step 3: Use Sandpaper
Use sandpaper to roughen the bottom of the shoe and the new sole. Rough surfaces will bind together better with glue as opposed to smooth ones. Remember to use coarse sandpaper while doing this step.
Step 4: Apply the Glue
Once you have separated the sole from your kid’s shoe, carefully apply the glue on both the bottom of the shoe and the sole. Make sure you cover the entire area with the glue.
Step 5: Attach
Glue both surfaces together and make sure you line up the sole with the shoe for better adhesion.
Step 6: Clamp the Sole
For this step, you can use either rubber bands, duct tape or rope to hold the shoe together. Press the sole tightly against your shoe for the two surfaces to stick. To secure the sole in place, wrap rubber bands or duct tape around the shoe. Or place it on the ground and set weights on top of it to press the shoe into the sole.
Step 7: Finishing Touch
After you have stuck the sole to the shoe, wipe the excess glue from the sides.
There you go! Wait 24 hours for the glue to work its magic. Now your child can wear their favourite canvas shoes again.